
Who this is for
If you own an outdoor living space and want shade that pulls double duty—comfort and clean power—this guide is for you. Think homeowners, small-business owners with patio seating, and DIYers weighing whether to add panels to a freestanding shade. I’ll keep it practical, skip the fluff, and walk you through choices that actually matter. If you’re considering a solar pergola, you’ll get clear next steps and things to watch for.
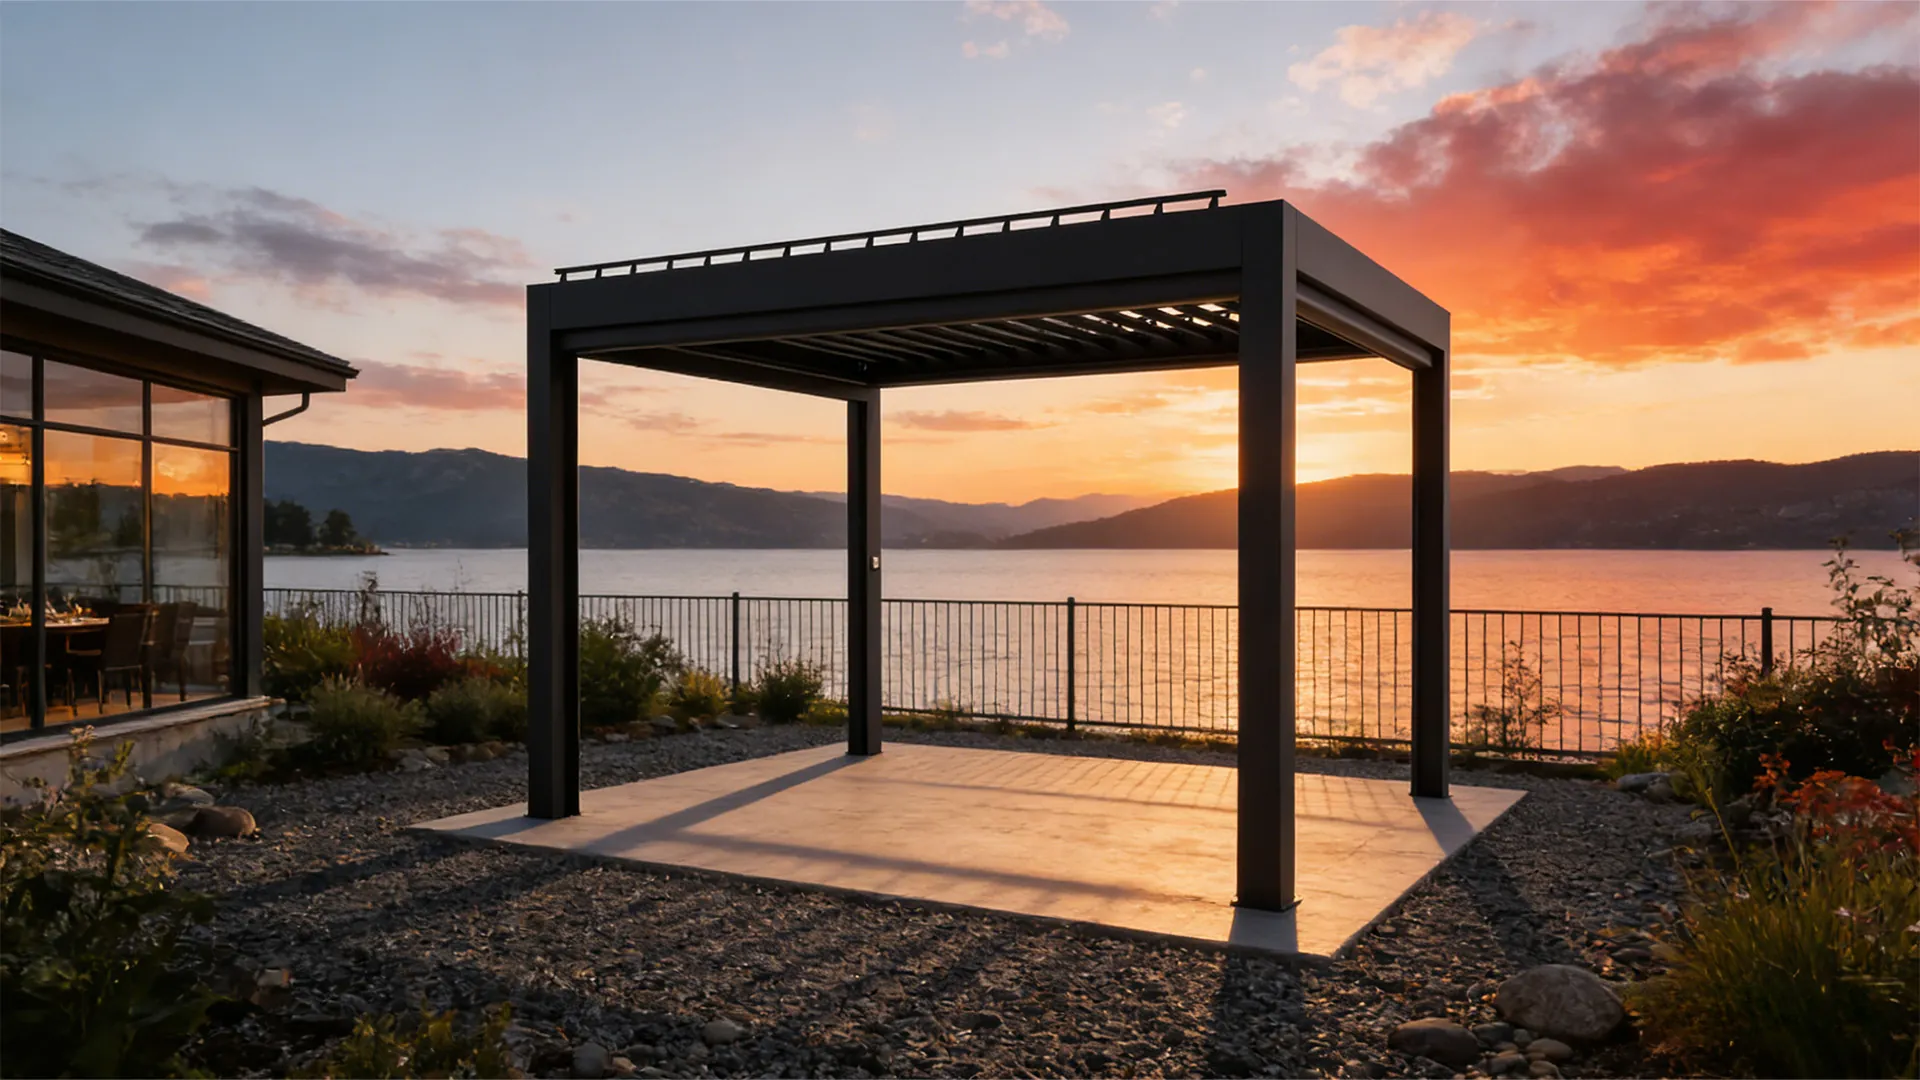
Start with what you want to get done
First question: are you trying to reduce your grid draw, add covered outdoor space, or both? Your priorities shape everything: roof angle, wiring paths, and materials. Aiming to offset evening bills means pairing panels with battery-ready inverters. Looking for occasional shade means a lighter, less expensive frame. Decide this up front so you don’t pay for unused features later.
Site, structure, and one real-world anchor you should mind
Placement dictates performance. Note sun angles through the year, local wind loads, and any nearby trees that cast afternoon shade. For coastal homeowners, especially folks in Southern California, a pergola that doubles as a solar panel shade structure needs corrosion-resistant hardware and attention to wind uplift. I’ve worked on rooftop and ground-mounted shade systems and seen how small oversights—wrong fasteners, poor drainage—become big headaches later.
Practical design choices that matter
Choose framing that matches load needs: wood looks great but needs treated lumber and routine checks; aluminum resists rot and is lighter but requires proper anchoring. Panel orientation should favor mid-day sun exposure. Keep wiring runs short and accessible; run conduit where it won’t be hidden behind finished trim. Ask your installer for a simple electrical diagram so future work isn’t guesswork.
Common pitfalls and how to avoid them
Pitfall: building for aesthetics first, function second. If panels overhang without structural support, you’ll get sag and micro-cracks. Pitfall: underestimating maintenance access—tight, decorative trim can block panel removal later. Don’t skip permits or structural review; a signed engineer stamp prevents insurance hassles. Finally, avoid piecemeal upgrades: plan inverter and conduit sizing now if you think you’ll add batteries later.
Maintenance cadence and lifecycle planning
Routine checks keep things solid. Year 1: inspect anchors and sealants twice, confirm no panel movement. Years 2–5: clean glass seasonally if dust builds; tighten fasteners yearly; check electrical connections for corrosion. Expect a strong frame to last 20+ years; panels typically carry 25-year performance warranties. Plan replacement parts—fasteners, flashing, sealant—into your budget rather than hoping they’ll be free down the road.

Alternatives and quick trade-offs
If a full pergola feels heavy, consider a modular carport or a lean-to mounted on an existing structure. Carports give more roof area and simpler tilt control; lean-tos save footprint but may require roof reinforcement. For renters, consider non-penetrating ballasted frames. Each option trades permanence for cost, so match the choice to how long you plan to keep the setup.
Decision checklist before you sign off
Confirm these before committing: local permit requirements, stamped structural plans if needed, a maintenance plan, access for panel removal, and an electrical diagram showing future expansion points. Get a written warranty that covers both the panels and the mounting system, and verify installer experience with outdoor solar shade systems specifically.
Wrap-up
Keep it simple: know what you want, design for access, and specify materials for your climate. That approach saves time, money, and surprises. When choices line up with realistic use and a maintenance plan, the structure keeps you shaded and productive for years—just like the practical projects handled by Light Hunter.